Confirmation popup
Lets customers confirm a product-related notice before they buy. Switchable per sales channel, with its own layout, country exceptions and proof stored on the order.
On this page
- Introduction
- What you achieve with this plugin
- Typical use cases
- Who is this plugin for?
- Installation
- Configuration
- Switching the plugin on for the sales channel
- Defining content and behaviour
- Marking products for the popup
- Step by step
- What your customers experience
- Step 1: the customer adds the item to the basket
- Step 2: the notice appears at checkout
- Step 3: after accepting
- Proof stored on the order
- Step by step
- Troubleshooting
- The popup does not appear
- The order button stays locked after accepting
- The window stays empty or only shows a loading message
- The confirmation time is missing on the order
- If you are stuck
- FAQ
- For administrators / technical details
- System requirements
- Installation via the command line
- Custom fields
- Store API for composable frontends
- How the confirmation is stored
- Logging and fault tolerance
Introduction
Some items cannot simply be sold like any other product: the customer has to read and confirm something first. That is exactly what Confirmation popup does for you.
You mark individual products. As soon as one of them is in the basket, a notice window opens on the final page of the checkout. The order button stays locked until the customer clicks Accept. The time of the confirmation is stored with the order, so you can later prove that the notice was shown and confirmed before the purchase.
What you achieve with this plugin
- You show a notice exactly where it counts: immediately before the order is placed.
- You decide per product whether the notice is needed — every other order runs through unchanged.
- You design the content freely as a shopping experience page: text, bullet lists, images, anything you can build in the Shopware layout editor.
- You get proof: date and time of the confirmation are stored with the order.
- You can also let customers decline — optionally in a way that removes the affected items from the basket straight away.
- You switch all of this on or off per sales channel.
Typical use cases
- Dangerous goods: the customer confirms shipping and acceptance conditions before ordering.
- Age restrictions: the notice about the age check on handover is explicitly confirmed.
- Custom-made items: the customer confirms that there is no right of withdrawal for individually manufactured goods.
- Special delivery or assembly conditions for individual items.
Who is this plugin for?
For shop operators who sell individual items for which customers should explicitly acknowledge something before buying — and who want to be able to prove that acknowledgement later on.
Installation
After the purchase the plugin is available directly in your administration — there is nothing to download.
- Log in to your Shopware administration.
- Open Extensions in the left-hand navigation and then My extensions.
- Find the entry Confirmation popup in the list and click Install next to it.
- Then switch the plugin on using the toggle to the left of the entry.
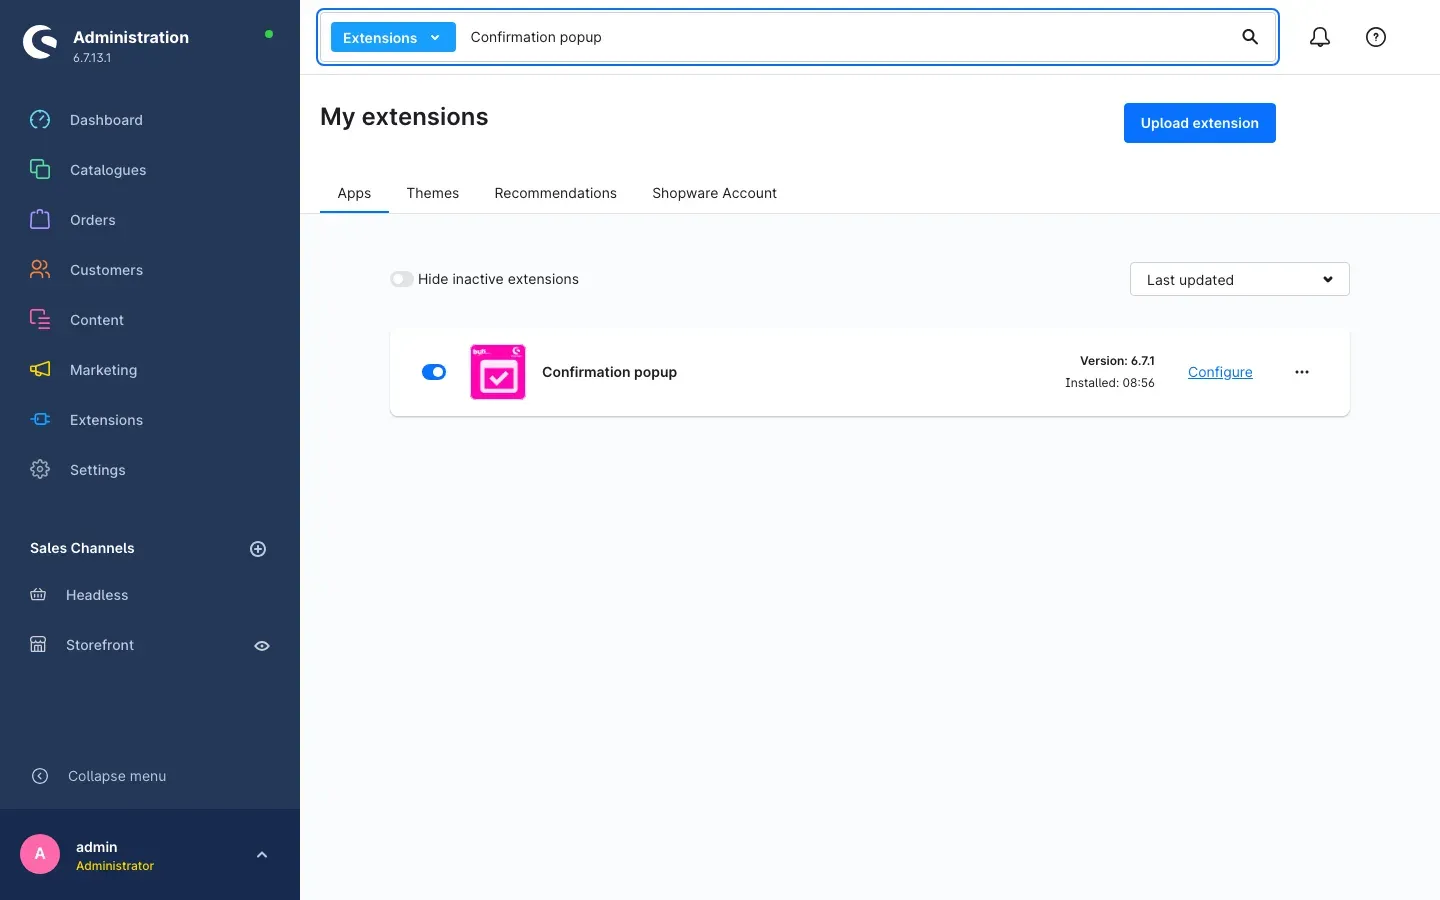 Fig. 1: The plugin is installed and switched on. On the right, Configure leads to the settings.
Once the toggle is blue and a version number is shown on the right, you are done. Configure takes you straight on to chapter 3.
If Confirmation popup does not appear in the list, your Shopware account is not yet connected to the shop. You will find the login for this under Extensions → My extensions in the Shopware Account tab.
Configuration
You reach the settings via Extensions → My extensions; click Configure next to the Confirmation popup entry.
Important to know: all settings apply per sales channel. At the top of the page you select the channel you are currently configuring. If you run several shops, you set up each one separately.
Switching the plugin on for the sales channel
The top card is called Confirmation popup. It contains the to documentation button, which opens this manual in your browser, and below it the most important switch.
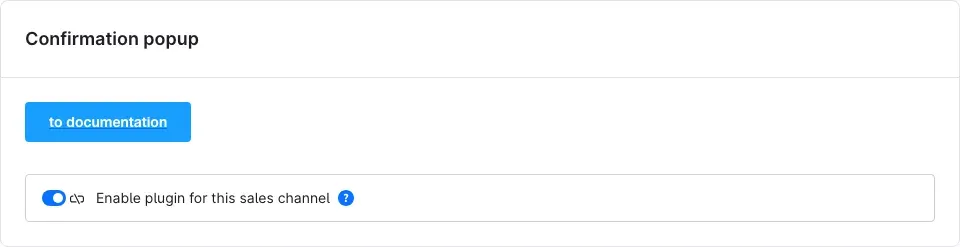 Fig. 2: This switch decides whether the plugin works at all in the selected sales channel.
Enable plugin for this sales channel determines whether the popup appears in this shop. The switch is on by default. The help text next to it puts it briefly: the popup is only shown in sales channels where this switch is on.
What this is good for: you sell the same items in a B2C and a B2B shop but only want to show the notice to private customers. Then you leave the switch on in one channel and off in the other — there is no need to uninstall anything.
Defining content and behaviour
The second card is called Content and behaviour. Here you decide what the popup says and which buttons the customer gets.
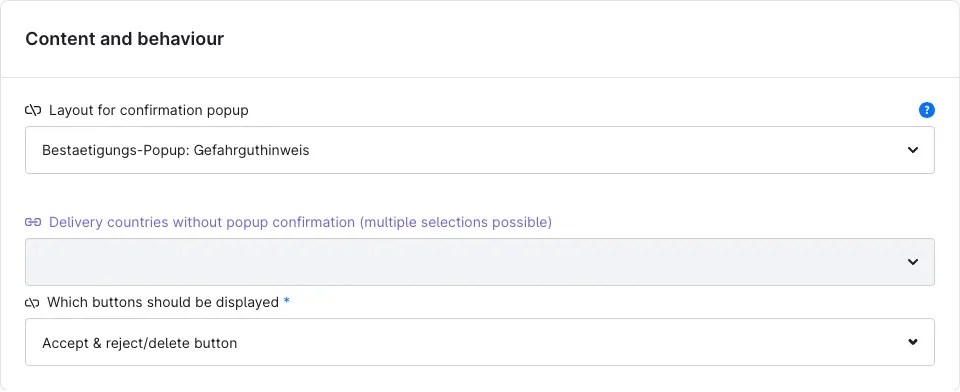 Fig. 3: Layout, country exceptions and buttons of the popup.
Layout for confirmation popup
Here you select the shopping experience page whose content appears in the popup. Experiences of the type Page can be selected. The help text points out the decisive detail: without a layout the popup stays switched off.
What this is good for: you are not limited to a single line of text. Headline, body text, bullet list, image or logo — you build the notice in the familiar layout editor and change it there at any time, without touching the plugin settings again.
This is how you create the content:
- Under Content, create a new shopping experience of the type Page.
- Give it a name you will recognise, for example “Confirmation popup: dangerous goods notice”.
- Add your notice text and save the page.
- Select it here under Layout for confirmation popup and save the configuration.
Tip: keep the text short and state clearly what clicking Accept means. The customer is right in front of completing the purchase — the clearer the notice, the fewer questions you get later.
Delivery countries without popup confirmation (multiple selections possible)
Here you enter the countries in which the notice is not required. If the customer has the order delivered to one of these countries, the popup does not appear — not even when a marked item is in the basket. If you leave the field empty, the notice applies to all delivery countries. You can select several countries at once.
What this is good for: if a regulation only applies domestically, you save your customers abroad a click that means nothing to them.
What counts is the customer’s delivery address in the current checkout, not the billing address.
Which buttons should be displayed
This selection determines which buttons appear at the bottom of the popup:
- Accept button — the customer can only confirm. Without confirmation the order button stays locked.
- Accept & decline button — the default. Next to Accept there is Reject. Reject only closes the window; the basket stays untouched and the order button remains locked. The customer can keep looking at the page without confirming, but can only submit the order after Accept.
- Accept & reject/delete button — next to Accept there is Reject and delete. With this the customer removes all marked items from the basket in one step and can complete the rest of the order as usual.
What this is good for: the third variant avoids pushing anyone into a dead end. Customers who do not want to accept the notice get rid of the item in question and still buy the rest, instead of abandoning checkout altogether.
Save at the top right after every change.
Marking products for the popup
What this gives you: the popup does not appear for every order, only when the basket contains an item you have marked for it. So you control per item exactly when your notice appears.
Step by step
- Open the product the notice should apply to via Catalogues.
- Scroll down the product page to the Custom fields section.
- Click the Confirmation popup tab there.
- Switch Switch on confirmation popup on.
- Save the product.
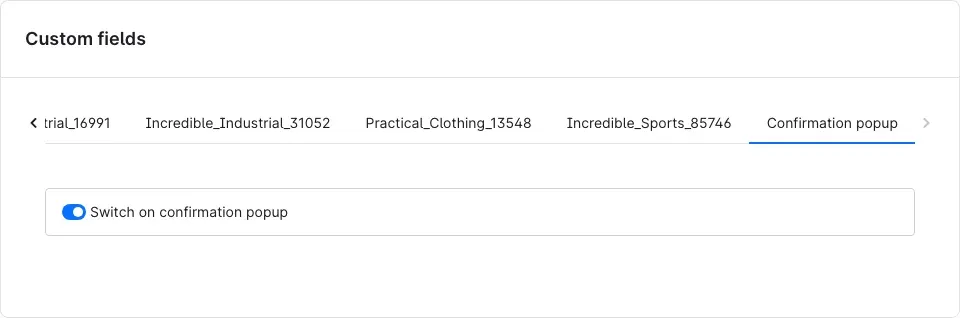 Fig. 4: One switch per product decides whether the item triggers the popup.
Repeat this for every item that needs the notice. Turning it off works the same way: switch off, save — from then on this item no longer triggers the popup.
Tip: variants inherit the marking. If you set the switch on the parent product, every one of its variants also triggers the popup. So you do not have to touch every colour and size individually.
Tip: if you need to mark many items at once, you can also set the field through a product import or the admin API (see chapter 9).
Important: the switch alone is not enough. Without a layout selected in chapter 3 the popup stays off, no matter how many products are marked.
What your customers experience
What this gives you: you know exactly what your customers see — and you can walk through the whole process yourself before going live.
Step 1: the customer adds the item to the basket
In the shop the marked item looks like any other. Nothing changes on the product page itself, there is no extra notice and no extra click.
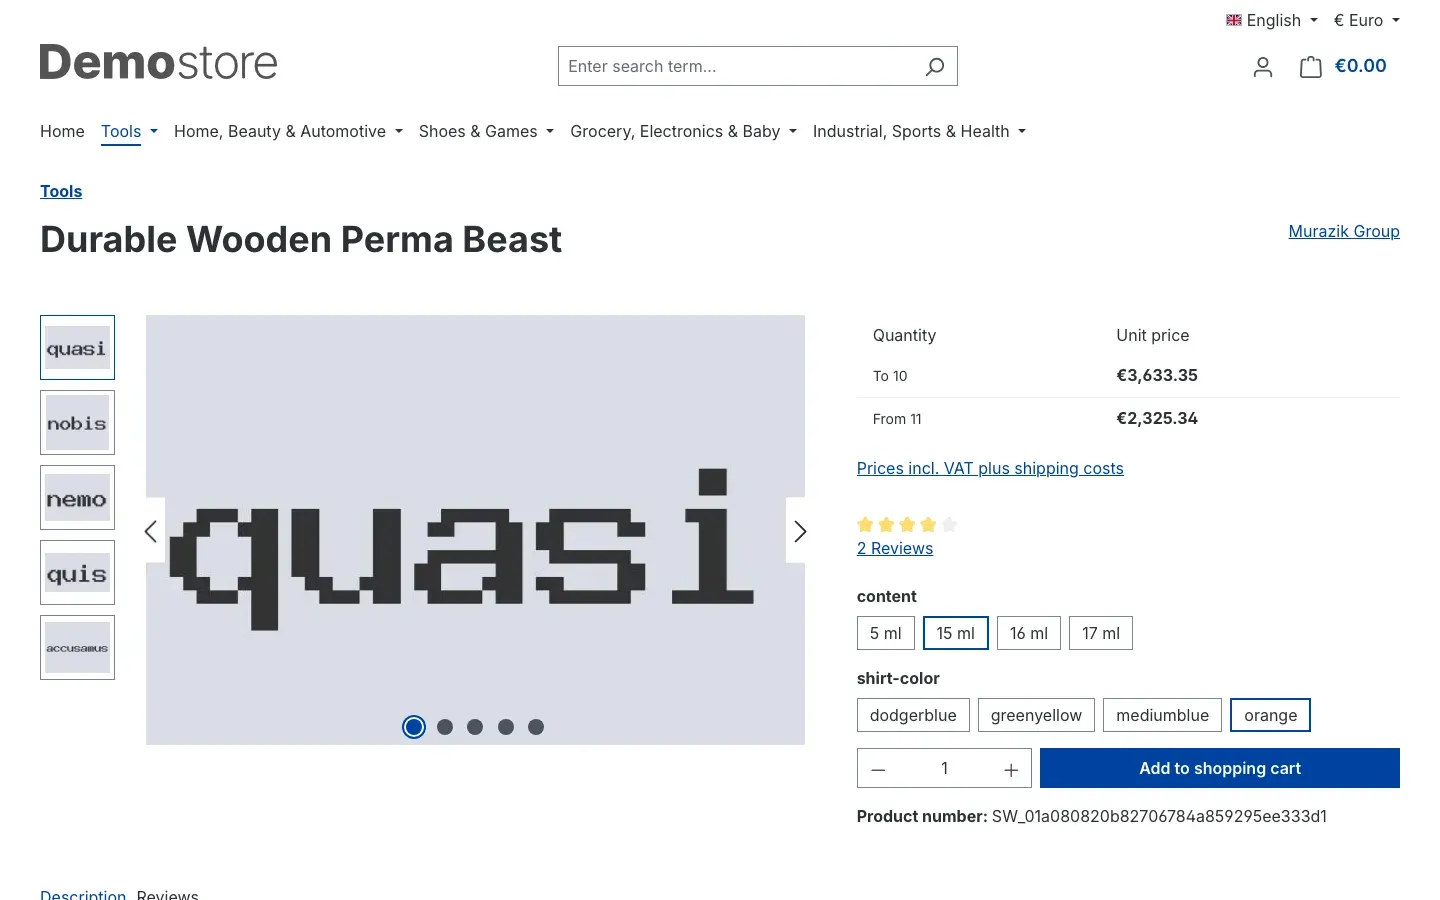 Fig. 5: At first, the marked item looks no different to the customer than any other.
Step 2: the notice appears at checkout
Only on the final page of the checkout — Complete order — does the window open. It shows the content of the shopping experience page you selected, and below it the buttons from your configuration.
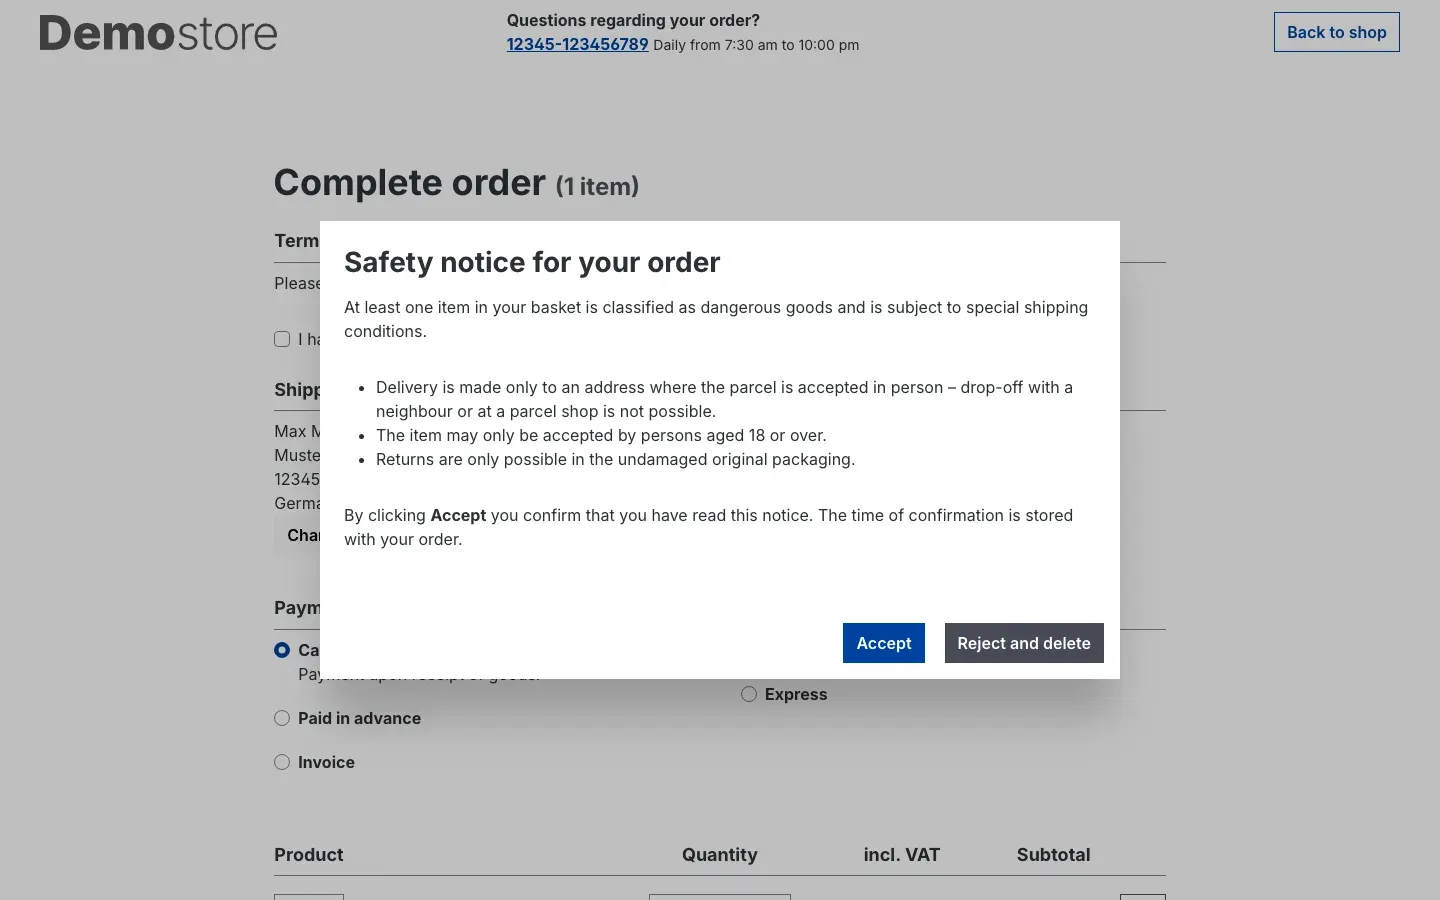 Fig. 6: The window with the notice text and the Accept and Reject and delete buttons.
While the window is open the customer cannot get past it: it cannot be dismissed by clicking next to it or by pressing the Escape key. The Submit order button is locked.
Depending on your setting, the customer now has these options:
- Accept: the window closes, the order button becomes usable, and the time of the confirmation is recorded.
- Reject: the window closes and the basket stays complete — but the order button remains locked. The customer can keep viewing the page but cannot place the order.
- Reject and delete: all marked items are removed from the basket. The customer returns to the Complete order page and sees a short message at the top stating how many items were removed.
Step 3: after accepting
After clicking Accept the window is gone and the order button is released. The customer completes the order as usual.
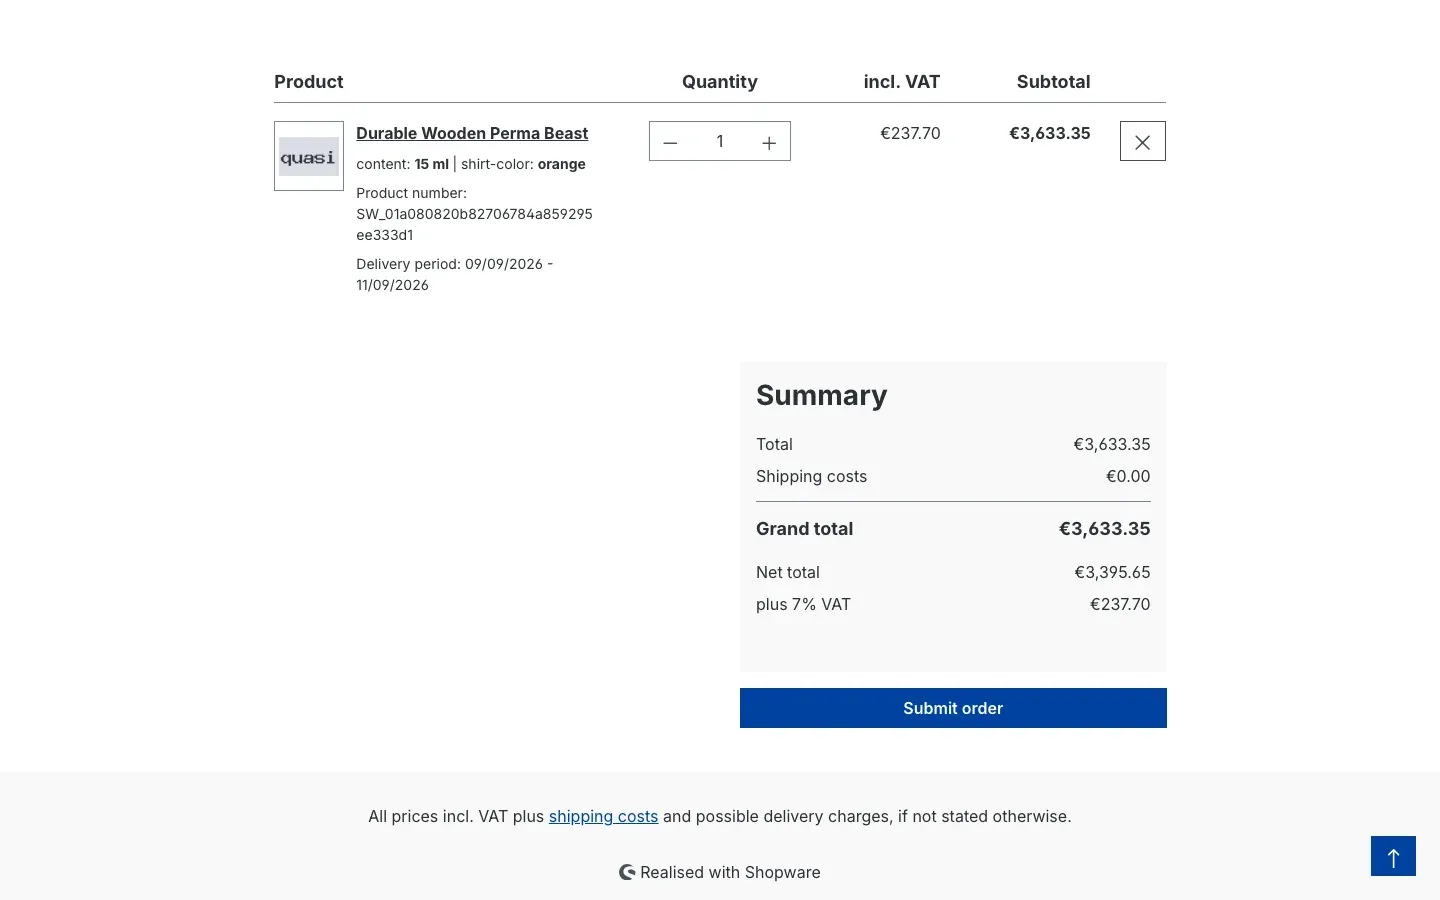 Fig. 7: After the confirmation, Submit order can be clicked again.
The notice appears once per checkout. If the customer changes the payment or shipping method after accepting, the window does not open again.
Important: in addition to the popup, the customer has to tick the terms and conditions checkbox before ordering, as always. That is Shopware standard behaviour and has nothing to do with the plugin. If the order button stays greyed out after accepting, that tick is usually what is missing.
Proof stored on the order
What this gives you: if a question comes up later, you can show on the order itself that the notice was displayed and confirmed before the purchase — with date and time.
Step by step
- Open Orders in the left-hand navigation and call up the order in question.
- Switch to the Custom fields section.
- Click the Confirmation popup tab.
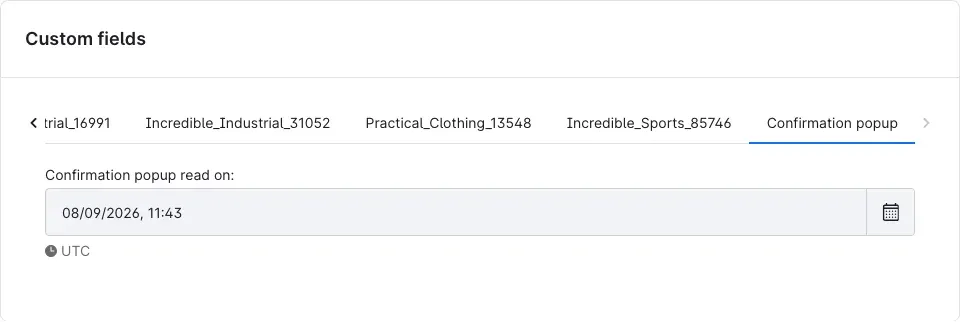 Fig. 8: Date and time of the confirmation are stored with the order.
Under Confirmation popup read on: you see the date and time at which the customer clicked Accept. The field cannot be edited — it is written exclusively by the plugin and is therefore solid proof.
If the field is empty, there was no confirmation for this order. That is the normal case for all orders without a marked item, for orders to an exempt delivery country, and for orders placed before the plugin was set up.
Troubleshooting
The popup does not appear
This is the most common report. Work through the points in order — the first one is by far the most frequent cause.
1. No layout is selected. Without an assigned shopping experience page the popup always stays off, even when everything else is set correctly. Under Extensions → My extensions → Configure, check in the Content and behaviour card whether a page is actually selected under Layout for confirmation popup.
2. The channel switch is off. Check in the top card whether Enable plugin for this sales channel is switched on — for the sales channel you selected at the top of the page. A switch you set in the wrong channel has no effect in the shop.
3. The product is not marked. Open the item and check in the Custom fields section on the Confirmation popup tab that Switch on confirmation popup is on and saved.
4. The delivery country is exempt. If the order’s delivery country is in the Delivery countries without popup confirmation list, the window is deliberately not shown. Check the list — and the delivery address in your test.
5. The customer already accepted in the same checkout. After accepting, the window does not appear again during the current checkout. For another test, log out and back in, or test in a private browser window.
6. The plugin is not switched on. Check under Extensions → My extensions whether the toggle next to the entry is blue.
If none of this helps, clear the cache: Settings → System → Caches & indexes.
The order button stays locked after accepting
Usually the terms and conditions tick is missing. That is a Shopware requirement in its own right and independent of the popup. Also check that Accept was clicked and not Reject — after Reject the button deliberately stays locked.
The window stays empty or only shows a loading message
In that case the content of the selected shopping experience page cannot be loaded. Open the page under Content and check that it still exists, has been saved and is assigned to the right sales channel. So that your checkout is not blocked, the plugin releases the order button in this situation.
The confirmation time is missing on the order
First check whether the order actually contained a marked item and whether the delivery country is exempt. Orders placed before the plugin was set up do not get the time added retrospectively.
If you are stuck
You can always find the current version of this manual via the to documentation button in the
plugin configuration, or directly at
https://www.bui-hinsche.com/en/documentation/confirmation-popup.
FAQ
Q: Do I have to create a separate notice page for every product?
A: No. There is one page per sales channel. All marked items in that channel show the same notice, so word it in a way that fits every item concerned.
Q: What about variants — do I have to mark each one individually?
A: No. If you mark the parent product, every one of its variants in the basket triggers the popup as well.
Q: Does the customer see the notice several times if the basket contains several marked items?
A: No. The window appears once and covers all marked items in the basket. If the customer chooses Reject and delete, all marked items are removed together.
Q: Can the customer simply dismiss the window?
A: No. Clicking next to it or pressing the Escape key does not close it. The only way out is through the buttons you configured.
Q: Can anyone place an order without confirming?
A: No. As long as nothing has been accepted, the order button stays locked. Customers who do not want to confirm can — if you use the third button variant — remove the affected items and order the rest.
Q: Does the notice appear again if the customer changes something during checkout?
A: No. It appears once per checkout. After accepting it stays away, even if the customer switches payment or shipping method.
Q: I run several shops. Do I have to configure everything twice?
A: Yes, and that is intentional. All settings apply per sales channel — switch, layout, country exceptions and button variant. That way you can show different texts in each shop or use the popup in one shop only. The product marking, on the other hand, applies to the item as a whole.
Q: Does the plugin change anything about my orders or products?
A: It adds two pieces of information: the marking on the product, which you set yourself, and the confirmation time on the order, which the plugin writes. Prices, stock levels and order line items are untouched — with one exception: if the customer chooses Reject and delete, they themselves remove the marked items from their basket.
Q: Where do I see that a customer has confirmed?
A: On the order in the Custom fields section, Confirmation popup tab, field Confirmation popup read on:.
Q: What happens to the notice if I change it later?
A: You edit the shopping experience page under Content and save it — from then on customers see the new text. There is nothing to change in the plugin configuration. Confirmation times that have already been stored remain unchanged.
For administrators / technical details
This section is aimed at technical administrators. You do not need it for normal use of the plugin.
System requirements
- Shopware: 6.7.11 or newer. The plugin’s storefront interface is built as a Twig component (Symfony UX); this component system only exists from that patch level onwards.
- PHP: 8.2 or newer
Installation via the command line
bin/console plugin:refresh
bin/console plugin:install --activate SwpConfirmationPopupSix
bin/console cache:clear
Custom fields
During installation the plugin creates two custom field sets, both labelled Confirmation popup:
- on the product
swp_confirm_popup_enabled— the marking from chapter 4 - on the order
swp_confirm_popup_accepteddate— the confirmation time, read-only
The fields can be addressed through the admin API and through imports, for example to mark a whole product group at once. When the plugin is deactivated the sets are set inactive; uninstalling removes them.
Store API for composable frontends
If you run your own frontend, the route GET /store-api/confirmation-popup returns the complete
state for the current basket. The response states whether a confirmation is required (required),
which basket line items trigger it (lineItemIds), which shopping experience page is to be shown
(cmsPageId), which buttons are configured (buttonMode) and when a confirmation was already
given (acceptedAt). The route requires the sales channel access key (sw-access-key).
How the confirmation is stored
The confirmation is held in the customer’s session and written to the order when the order is placed. It therefore belongs to exactly one checkout, not permanently to the customer account — a later order requires a new confirmation.
Logging and fault tolerance
The plugin writes to its own log channel swp_confirmation_popup_six. If an error occurs inside
the plugin it is logged, but it does not abort the checkout: the order can still be completed,
only the notice or the stored time is omitted.
This manual was created for Confirmation popup version 6.7.1.
More manuals
Age Check
Tobacco, spirits, knives: visitors who do not confirm their age never see the restricted items at all. You tick a box per product, the plugin hides it everywhere.
Open manual Shopware 6AI SEO All-in-One: SEO and GEO suite for Shopware 6
Google finds your shop, ChatGPT never mentions it. This plugin checks both in one run, fills empty meta fields from templates and turns the findings into a to-do list.
Open manual Shopware 6Area Calculation
Area calculation on the product page: your customer knows the square metres, not the number of packs. The plugin works it out, adds the offcut and fills the quantity field.
Open manualNeed a team that keeps your shop running?
We have been maintaining Shopware shops for more than 20 years, including updates, hotfixes and the plugins you are configuring right now.